1. Ground Preparation
Before applying any waterproofing, it's essential to ensure the ground is properly leveled. A uneven or poorly prepared surface can lead to cracks and leaks due to inconsistent thickness of the waterproof coating. Pay special attention to joints, corners, and areas around pipes—these are the most vulnerable spots. Use a highly flexible waterproof paint in these areas, as they are prone to movement and displacement, especially where walls meet the floor.
2. Wall Treatment
Apply a waterproof coating on the walls up to about 30cm in height to prevent water from seeping into the wall structure. If your bathroom has a shower area, extend the waterproofing up to 180cm. For bathtubs, make sure the adjacent walls are also waterproofed, with a minimum height of 30cm. This helps protect the walls from moisture damage over time.
3. Drying and Protection
Once the waterproof layer is applied, allow it to cure for a certain period so that it fully integrates with the building structure. Afterward, lay a protective layer before installing tiles. During the construction process, be careful not to damage the waterproof layer. Take extra precautions to avoid any accidental damage, as once the tiles are in place, it’s much harder to repair or replace the waterproofing later.
4. Sealing and Maintenance
Waterproofing is a hidden project, and future construction activities may unintentionally damage it. If the floor tiles are already laid, avoid breaking them. Instead, use professional sealing materials to fill all gaps and ensure full waterproofing. The same applies to any subsequent waterproofing work in the bathroom. Always seal seams properly to maintain long-term protection against water intrusion.
5. Systematic Approach
Waterproofing is a comprehensive process, and each area requires different solutions based on its specific conditions. The choice of materials is the foundation, but proper installation is the key to success. Additionally, reliable after-sales support ensures that any issues can be addressed promptly and effectively.
Bathroom Waterproofing Materials
First, pour reinforced concrete for the floor to create a solid base.
Second, apply a 1:3 cement mortar leveling layer, with a minimum thickness of 20mm at the thinnest point, sloping towards the floor drain for proper drainage.
Third, use Leibang Shi acrylic polymer cement-based waterproof paste for effective moisture resistance.
Fourth, add a 30mm thick dry cement mortar bonding layer to secure the tiles above.
By following these steps carefully, you can ensure a durable and long-lasting waterproofing solution in your bathroom, protecting your home from water damage and mold growth.
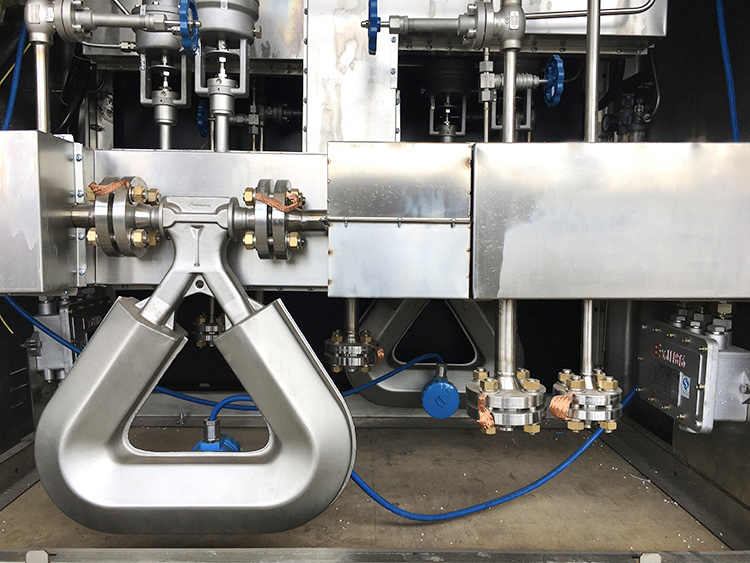
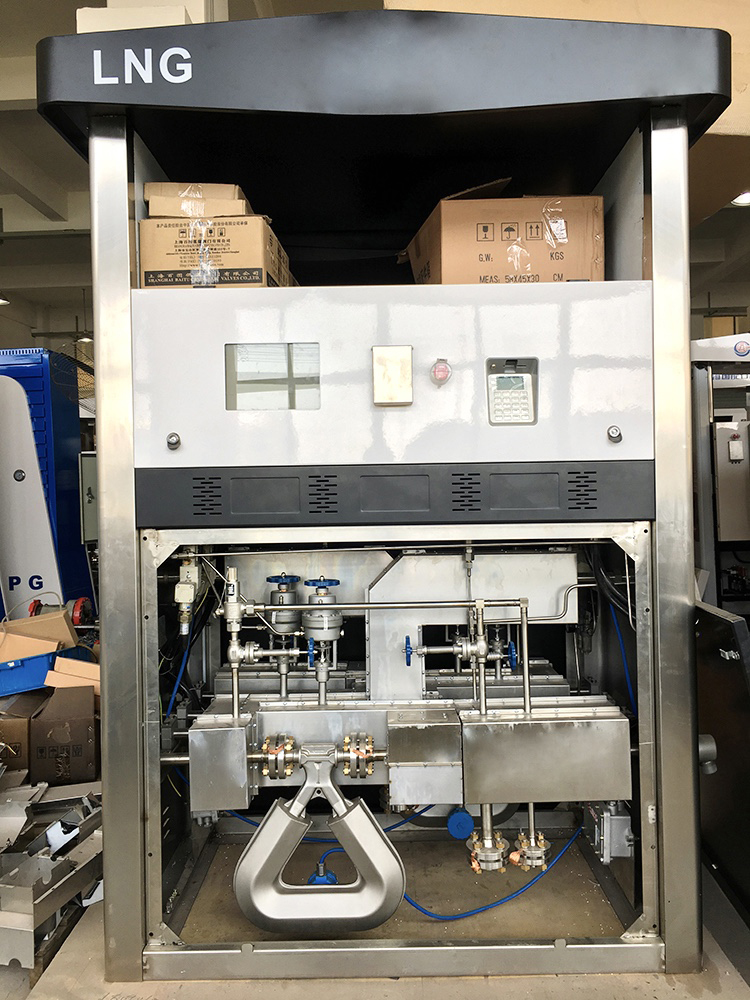
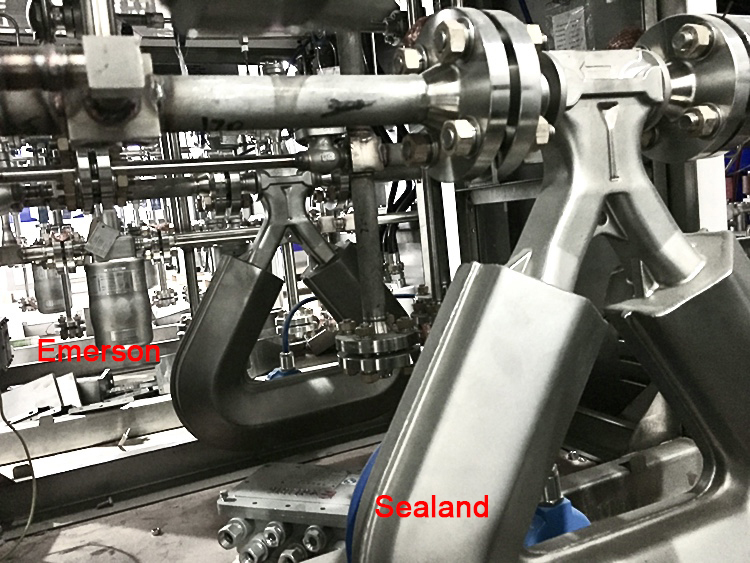
Sealand is a trustworthy manufacturer of CNG Dispenser Mass Flow Meter, LNG Dispenser Mass Flow Meter, LPG Dispenser Mass Flow Meter, ATEX, CE & IECEx approved.
With its high accuracy, wide rangeability and reliable performance, Sealand meter has been applied in many kinds of industries during the last 8 years. Unlike others who only focus on the measurement of liquid at normal pressure & temperature, Sealand has conquered the difficulty in the measurement under severe conditions, such as high pressure, high viscosity, high & low temperature.
Take CNG (compressed natural gas) for example. As the saying goes, the meter can measure anything else if it can measure CNG. It is quite hard to measure gas under high pressure. The sensor must be able to bear high pressure; in this way, the thickness of flow tube must be increased, so the transmitter shall be more sensitive to detect the signal; however, Sealand made it. Sealand's first model is specially designed for CNG dispenser, and now thousands of this model are put into use on the market.
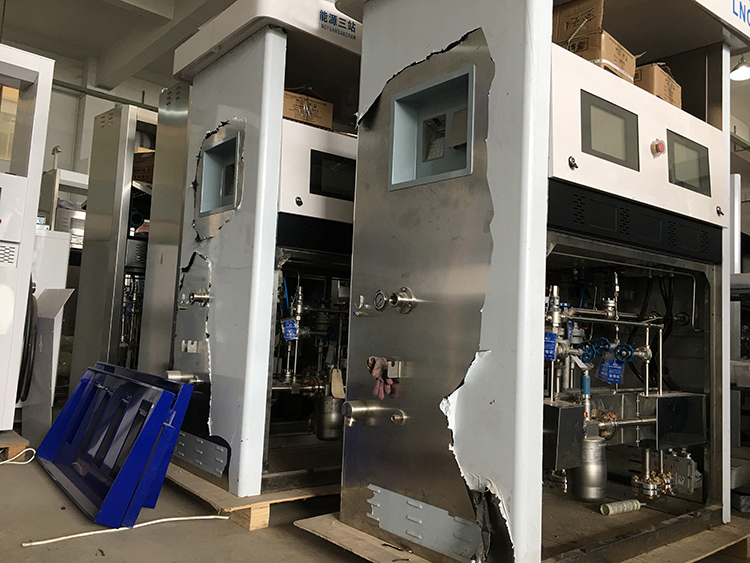
Here are the pictures of Sealand Mass Flow Meter in Dispenser for your reference.
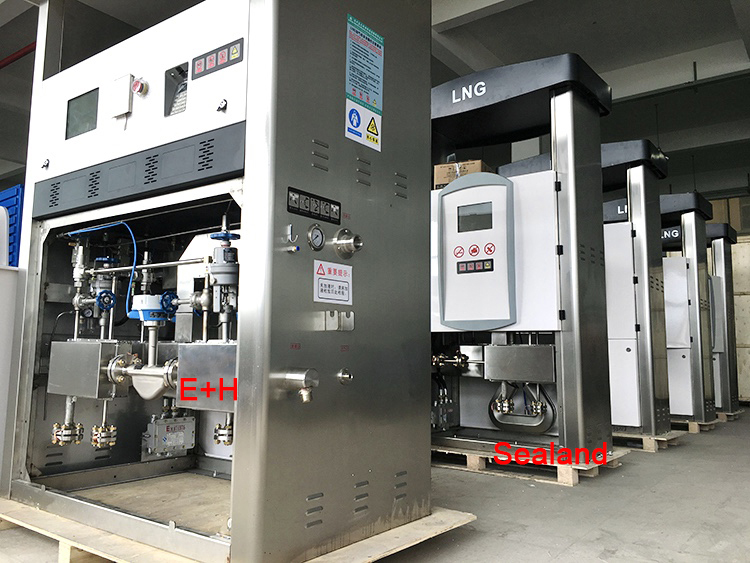
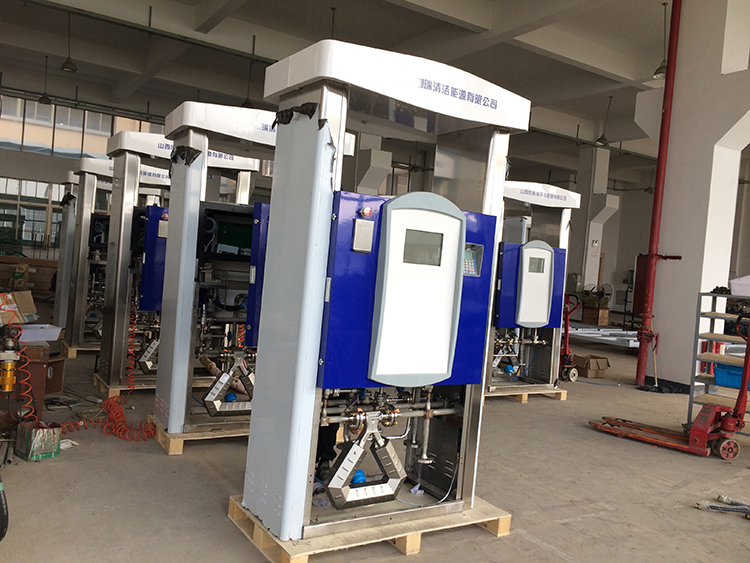
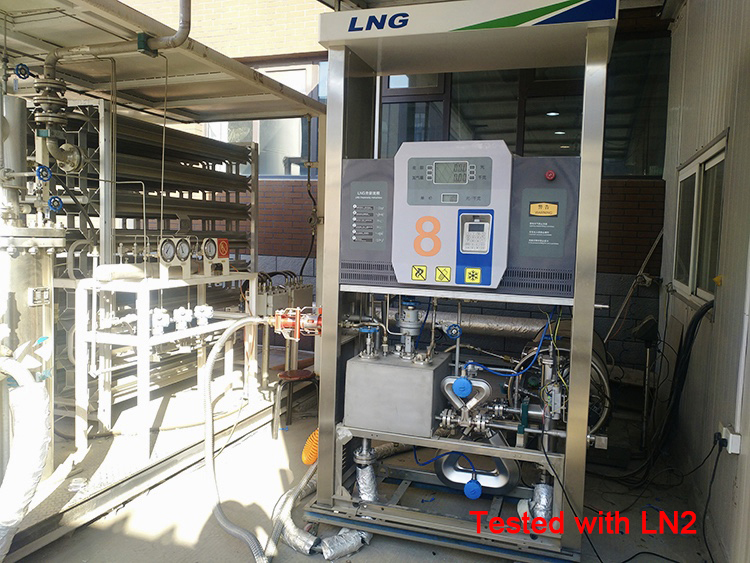
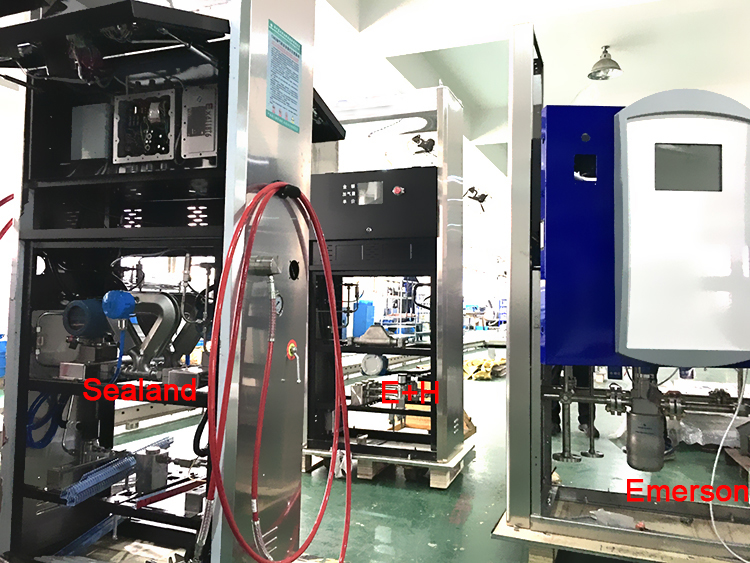
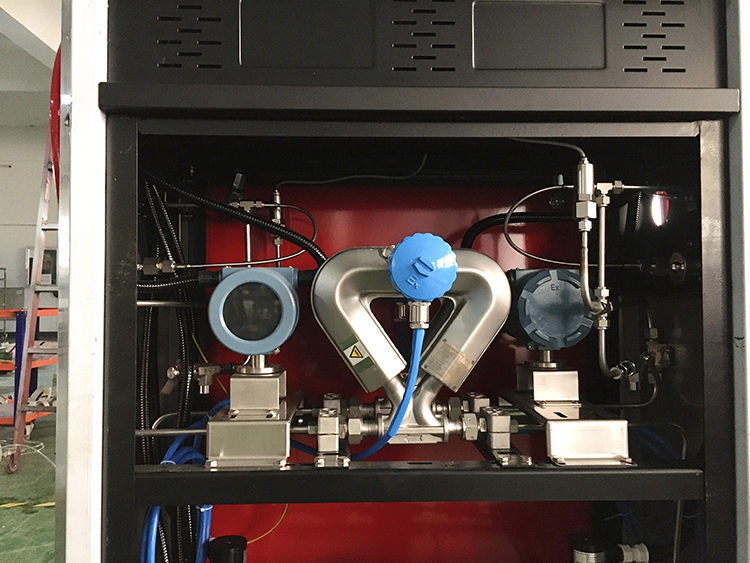
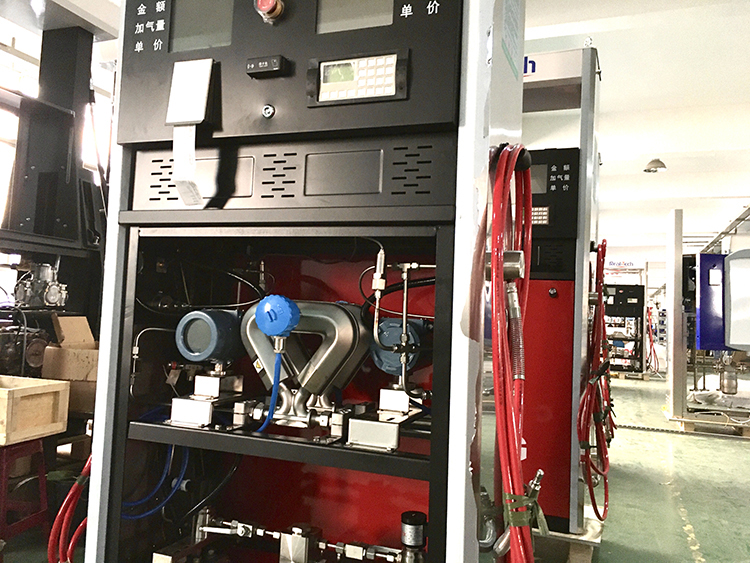
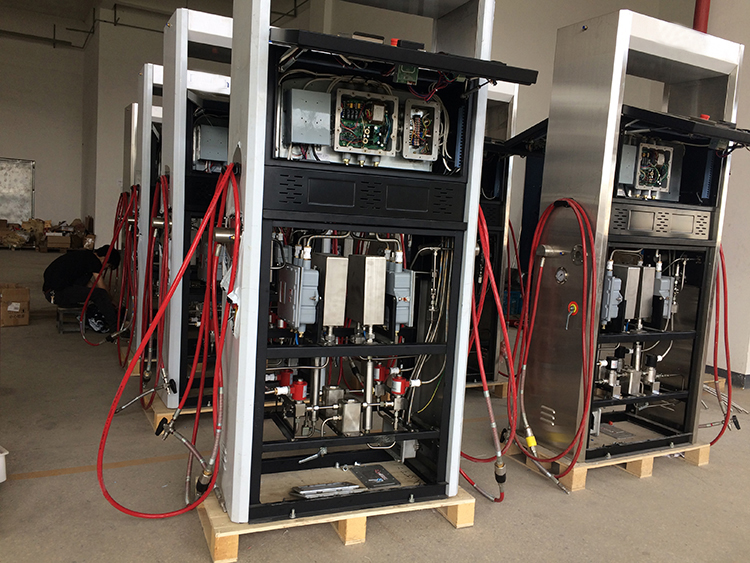
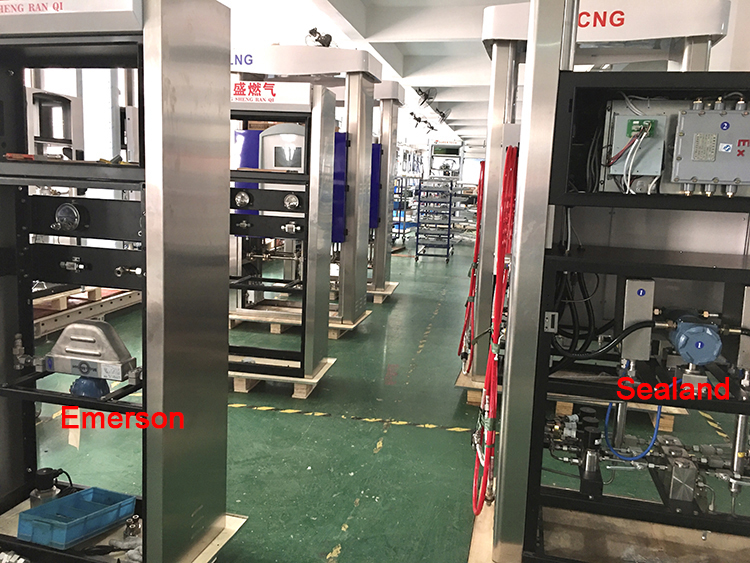
CNG Dispenser Mass Flow Meter, LNG Dispenser Mass Flow Meter, LPG Dispenser Mass Flow Meter
Zhejiang Sealand Technology Co., Ltd. , https://www.sealandflowmeter.com
